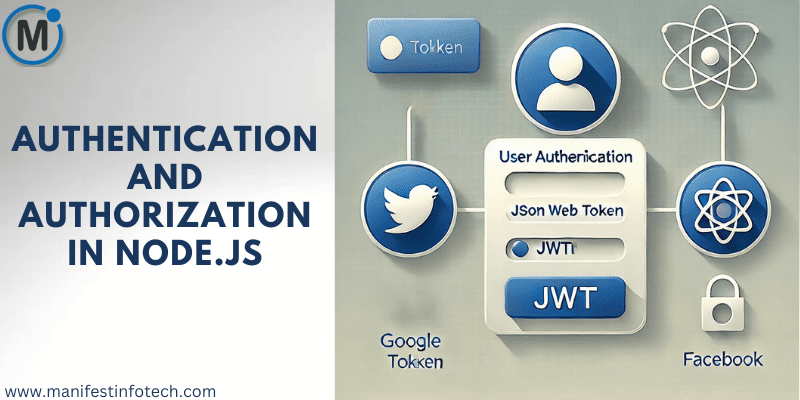
Authentication and authorization are crucial for securing modern web applications. In a Node.js application, implementing authentication ensures that only legitimate users can access the system, while authorization defines the actions users can perform based on their roles. This guide covers implementing authentication and authorization in Node.js using JSON Web Tokens (JWT) and OAuth.
Understanding Authentication vs. Authorization
Authentication: The process of verifying a user\’s identity. This can be done using email/password, social logins, or third-party authentication providers.
Authorization: The process of granting access to specific resources based on user roles and permissions.
Implementing Authentication with JWT in Node.js
JWT (JSON Web Token) is a widely used method for authentication in web applications. It allows secure, stateless authentication using signed tokens.
1. Setting Up a Node.js Project
First, initialize a new Node.js project and install the required dependencies:
mkdir auth-app && cd auth-app
npm init -y
npm install express jsonwebtoken bcryptjs dotenv cors body-parser
2. Creating the Express Server
Create a file server.js and set up a basic Express server:
const express = require(\’express\’);
const jwt = require(\’jsonwebtoken\’);
const bcrypt = require(\’bcryptjs\’);
const dotenv = require(\’dotenv\’);
dotenv.config();
const app = express();
app.use(express.json());
const users = []; // Temporary user storage
app.listen(5000, () => console.log(\’Server running on port 5000\’));
3. Registering Users
Create a route for user registration where passwords are hashed before storing them:
app.post(\’/register\’, async (req, res) => {
const { username, password } = req.body;
const hashedPassword = await bcrypt.hash(password, 10);
users.push({ username, password: hashedPassword });
res.json({ message: \’User registered successfully\’ });
});
4. User Login and Token Generation
When users log in, validate credentials and generate a JWT token:
app.post(\’/login\’, async (req, res) => {
const { username, password } = req.body;
const user = users.find(user => user.username === username);
if (!user || !(await bcrypt.compare(password, user.password))) {
return res.status(400).json({ message: \’Invalid credentials\’ });
}
const token = jwt.sign({ username }, process.env.JWT_SECRET, { expiresIn: \’1h\’ });
res.json({ token });
});
5. Protecting Routes with JWT Middleware
Secure routes by verifying the token:
const authenticateToken = (req, res, next) => {
const token = req.headers[\’authorization\’];
if (!token) return res.status(401).json({ message: \’Access denied\’ });
jwt.verify(token, process.env.JWT_SECRET, (err, user) => {
if (err) return res.status(403).json({ message: \’Invalid token\’ });
req.user = user;
next();
});
};
6. Creating a Protected Route
app.get(\’/dashboard\’, authenticateToken, (req, res) => {
res.json({ message: `Welcome, ${req.user.username}!` });
});
Implementing OAuth for Authentication
OAuth allows users to log in using third-party providers like Google or Facebook.
1. Installing Dependencies
npm install passport passport-google-oauth20
2. Configuring Google OAuth
const passport = require(\’passport\’);
const GoogleStrategy = require(\’passport-google-oauth20\’).Strategy;
passport.use(new GoogleStrategy({
clientID: process.env.GOOGLE_CLIENT_ID,
clientSecret: process.env.GOOGLE_CLIENT_SECRET,
callbackURL: \’/auth/google/callback\’
}, (accessToken, refreshToken, profile, done) => {
return done(null, profile);
}));
3. Setting Up OAuth Routes
app.get(\’/auth/google\’, passport.authenticate(\’google\’, { scope: [\’profile\’, \’email\’] }));
app.get(\’/auth/google/callback\’, passport.authenticate(\’google\’, {
successRedirect: \’/dashboard\’,
failureRedirect: \’/\’
}));
Conclusion
Securing a Node.js application requires both authentication and authorization. JWT is a powerful tool for stateless authentication, while OAuth enables users to log in via third-party providers. By implementing these methods, you can enhance the security and user experience of your application.
If you are looking for any services related to Website Development, App Development, Digital Marketing and SEO, just email us at nchouksey@manifestinfotech.com or Skype id: live:76bad32bff24d30d
𝐅𝐨𝐥𝐥𝐨𝐰 𝐔𝐬:
𝐋𝐢𝐧𝐤𝐞𝐝𝐢𝐧: linkedin.com/company/manifestinfotech
𝐅𝐚𝐜𝐞𝐛𝐨𝐨𝐤: facebook.com/manifestinfotech/
𝐈𝐧𝐬𝐭𝐚𝐠𝐫𝐚𝐦: instagram.com/manifestinfotech/
𝐓𝐰𝐢𝐭𝐭𝐞𝐫: twitter.com/Manifest_info
#NodeJS #Authentication #Authorization #JWT #OAuth #WebSecurity #NodeJSTutorial #WebDevelopment #BackendDevelopment #APISecurity #FullStackDevelopment #SecureLogin #TechBlog #Coding #JavaScript